
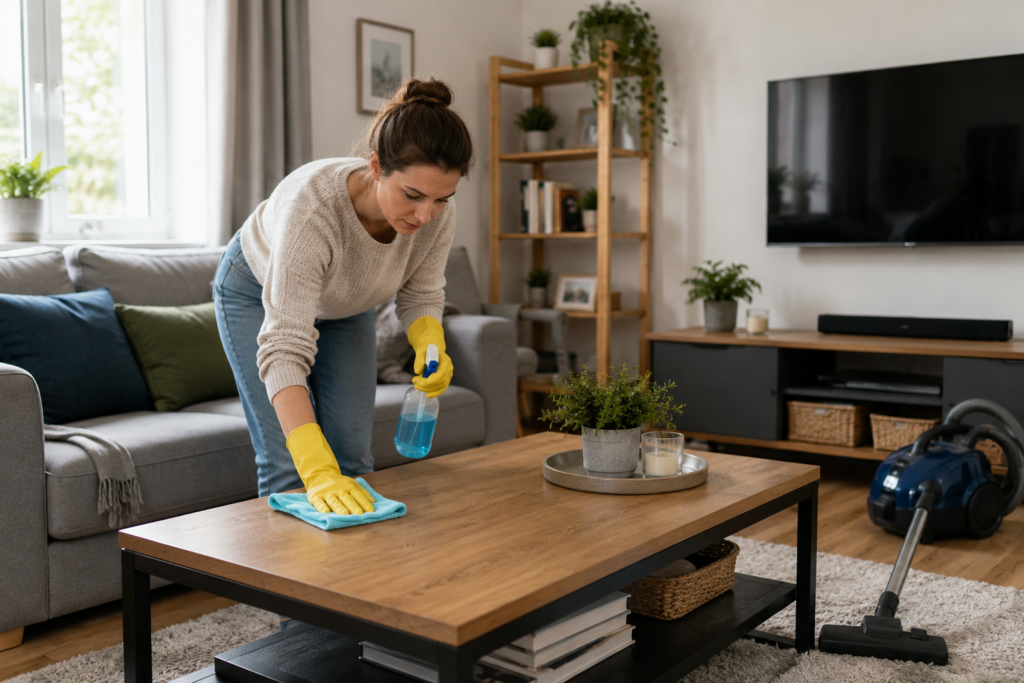
Knowing how to clean a living room properly helps you remove dust, crumbs, pet hair and everyday grime without simply moving dirt from one place to another.
Because the living room is often one of the busiest spaces in the home, it can become untidy surprisingly quickly. Sofas collect crumbs, shelves gather dust, fingerprints appear on switches and tables, and floors pick up everything carried in on shoes, socks and paws.
The good news is that you do not need to clean everything at once or use dozens of products. A sensible order, a few suitable cleaning tools and attention to the areas people touch most can make the job much easier.
What You Need Before You Start Cleaning
Before you begin, gather what you need so you are not repeatedly stopping to look for cloths, bin bags or cleaning products.
For a typical living room, useful supplies include:
- A rubbish or recycling bag
- A laundry basket or container for misplaced items
- Microfibre cloths
- A vacuum cleaner with suitable attachments
- A mop if you have a washable hard floor
- A bucket if required for your floor-cleaning method
- A suitable general-purpose cleaner
- Glass cleaner where appropriate
- A soft duster or vacuum dusting attachment
- Any specialist product required for your particular furniture or flooring
You may not need everything on this list. Check care labels and manufacturers’ instructions before applying a cleaning product to upholstery, wood, electronics or specialist flooring.
The most efficient approach is generally to declutter first, clean from higher areas to lower ones, and leave vacuuming and floor cleaning until near the end.
How to Clean a Living Room Step by Step
A good living room cleaning guide should give you an order that prevents unnecessary extra work. For example, vacuuming the floor before dusting shelves can mean cleaning the floor twice when dust falls onto it later.
Follow these steps and adjust them to suit the furniture, flooring and materials in your room.
1. Open the curtains and prepare the room
Start by letting in natural light so you can see dust, marks and areas that need attention.
If the weather and your home environment allow, you can also open a window for ventilation, particularly when using cleaning products. Always follow the ventilation and safety instructions on product labels.
Move small objects that will get in the way, but avoid shifting heavy furniture unless you can do so safely.
2. Remove rubbish and obvious clutter
Before you start cleaning surfaces, remove anything that does not belong in the room.
Collect rubbish and recycling first. Then gather cups, plates, toys, clothes, paperwork and other misplaced items. A basket can be useful for collecting things that need returning to other rooms.
Try not to turn this stage into a complete home-organising project. The aim is simply to clear enough space to clean properly.
Once you have a manageable routine, our guide to keeping your living room clean for longer can help reduce how much clutter and cleaning builds up between sessions.
3. Clean from top to bottom
Begin with higher surfaces so any loosened dust falls onto areas you have not cleaned yet.
Depending on your room, this might include:
- High shelves and the tops of tall furniture
- Picture frames and wall decorations
- Lamps and lampshades
- Window sills and accessible frames
- Shelves and bookcases
- Coffee and side tables
- Skirting boards and lower surfaces
Use a clean microfibre cloth or an appropriate vacuum attachment. Avoid aggressively rubbing delicate painted, polished or decorative surfaces.
This top-to-bottom method is useful throughout the home. When tackling other rooms, follow a surface-appropriate process such as our guide to cleaning a bedroom properly.
4. Dust ornaments, frames and decorative items
Decorations can collect a surprising amount of dust, particularly when they remain untouched for weeks.
Lift items rather than simply wiping around them. Dust the object where safe to do so, clean the surface underneath, and replace it once the area is dry.
Handle fragile objects carefully and avoid spraying cleaner directly onto ornaments, framed photographs or artwork.
5. Clean frequently touched surfaces
Some of the most important areas are also among the easiest to overlook.
Pay attention to:
- Door handles
- Light switches
- Remote controls
- Table edges
- Drawer and cabinet handles
- Frequently touched lamp switches
Use a method suitable for the material. When cleaning electrical items such as remote controls, never saturate them with liquid. Follow the manufacturer’s care guidance and apply any suitable cleaning product to the cloth rather than directly into openings.
6. Clean tables and other furniture surfaces
Remove loose dust before using a damp cleaning method.
Different furniture materials require different care. A product suitable for a laminate coffee table may not be appropriate for untreated wood, stone, lacquer or another specialist finish.
Avoid assuming that a general-purpose cleaner is safe for every surface. If you are unsure, check the furniture manufacturer’s instructions and test an appropriate product on an inconspicuous area first.
7. Clean the sofa and chairs
Remove cushions where the design allows and vacuum loose crumbs, dust and pet hair from accessible areas, paying attention to seams and gaps.
Check underneath removable cushions too.
Fabric upholstery needs particular care because using too much water or the wrong product can cause staining, water marks or other damage. For more detailed upholstery care, follow our step-by-step guide to cleaning a fabric sofa.
For leather, velvet, suede and other specialist materials, follow the manufacturer’s care instructions rather than treating them as ordinary fabric.
8. Vacuum the floor thoroughly
Now that dust and debris from higher surfaces have had a chance to fall, vacuum the floor.
Start around the edges and work systematically across the room. Use appropriate attachments for corners and other accessible areas your main vacuum head cannot reach.
If lightweight furniture can be moved safely, clean underneath it rather than repeatedly cleaning only the visible floor.
On rugs, check any care instructions before using powered brush settings, strong suction or stain treatments, particularly with delicate fibres.
9. Mop suitable hard floors
If your flooring is designed for wet or damp cleaning, finish with the cleaning method recommended for that floor.
Do not assume that more water means a cleaner floor. Excess moisture can be unsuitable for some wood, laminate and other flooring.
Use the correct product and dilution where applicable, follow the manufacturer’s instructions, and allow the floor to dry before normal use.
10. Reset the room
Once surfaces and floors are clean and dry, put everything back neatly.
Straighten cushions, fold throws, return decorative items and remove your cleaning equipment. This final reset makes the room feel properly finished rather than merely cleaned around.
Explore KeepShine’s free downloadable cleaning resources for practical help organising your household cleaning and making regular routines easier to manage.
Pro Tip

After vacuuming the main floor, use the crevice attachment around skirting boards, beneath accessible furniture edges and where the sofa meets the floor. These narrow areas can hold dust and hair even when the centre of the room looks spotless, so dealing with them separately can make a noticeable difference to the finished result.
How Often Should You Clean Your Living Room?
There is no single cleaning schedule that suits every home. A living room used every evening by a large family will normally need attention more often than a rarely used sitting room.
Homes with children, pets, allergy concerns or frequent visitors may also require more regular vacuuming and surface cleaning.
For a more detailed routine, see our practical living room cleaning schedule.
As a general approach, deal with spills, food debris and obvious mess promptly rather than waiting for a scheduled cleaning day. Regularly put away clutter, clean frequently touched areas and vacuum according to how quickly your floor becomes dirty.
Less frequent tasks might include moving suitable furniture to clean underneath, cleaning behind accessible items, washing appropriate removable textiles and giving neglected edges or corners extra attention.
The important distinction is between regular cleaning and deep cleaning. Your normal routine should control everyday dust, dirt and clutter. A deeper clean deals with areas that are not practical or necessary to tackle every time.
If the room has been neglected for a while, you are preparing for visitors or you simply want a seasonal reset, our thorough living room deep-cleaning guide covers the more detailed jobs.
A manageable schedule is usually better than waiting until the entire room feels overwhelming. Small, regular tasks can prevent one cleaning session from becoming unnecessarily large.
Mistakes to Avoid
- Vacuuming before you dust. Dust and debris from shelves, lamps and furniture can fall onto a freshly vacuumed floor. Work from higher areas down and leave the main floor until later.
- Using one cloth everywhere. A cloth that has picked up grime from a dirty area can transfer it elsewhere. Use clean cloths as needed, particularly when moving between noticeably different types of surfaces or dirt.
- Spraying products directly onto electronics. Liquid can enter openings around buttons, screens or electrical components. Follow the manufacturer’s cleaning guidance and avoid excessive moisture.
- Using the same cleaner on every material. Wood, stone, glass, upholstery and specialist finishes can have very different care requirements. Check labels and manufacturer guidance instead of assuming that a multipurpose product is universally suitable.
- Using too much water. Soaking upholstery or wetting moisture-sensitive flooring can cause problems rather than improve cleaning. Use only an appropriate amount for the material and method.
- Cleaning only what you can immediately see. Sofa gaps, furniture edges, skirting boards and accessible spaces underneath furniture are easy to overlook. Include them periodically so hidden dust does not continue accumulating.
For more problems that can affect your results, see common living room cleaning mistakes and how to avoid them.
If keeping on top of your living room and the rest of your home is becoming difficult, KeepShine can provide professional cleaning help when you would rather leave the work to someone else.
More Questions About Cleaning Your Living Room
These answers cover a few practical questions you may still have when deciding on the best way to clean a living room.
Should I dust or vacuum first?
Dust first and vacuum afterwards in most situations. Cleaning shelves, lamps, window sills and furniture can release dust onto the floor. Leaving vacuuming until later allows you to collect that debris in the same cleaning session rather than vacuuming the room twice.
How long does it take to clean a living room?
It depends on the room’s size, condition, furniture and amount of clutter. A relatively tidy room needing routine maintenance will naturally take less time than one requiring extensive decluttering, upholstery work or cleaning underneath furniture.
Instead of rushing against a fixed time, work systematically and concentrate on the areas that actually need cleaning.
Do I need to move the sofa every time I clean?
Not necessarily. You can clean accessible floor edges and gaps during regular cleaning and move suitable furniture periodically for a more thorough clean.
Never attempt to move furniture that is too heavy or awkward for you. Cleaning underneath a sofa is not worth risking injury or damaging the furniture or flooring.
What is the best way to deal with a very dirty living room?
Break the work into stages rather than trying to clean everything simultaneously. Remove rubbish, deal with clutter, dust from top to bottom, clean furniture and finish with the floor.
For a room requiring significantly more than routine maintenance, use a structured deep-cleaning method for the living room.
How can I stop the living room getting messy again so quickly?
Give frequently used items a convenient home and return them after use. Deal with cups, food packaging and obvious rubbish promptly rather than allowing them to accumulate.
Short, regular resets can also help. Our guide to maintaining a cleaner living room between full cleans explores this in more detail.
Should I clean every room using the same method?
The basic idea of decluttering and working systematically can be applied elsewhere, but individual rooms require different methods. Kitchens, for example, involve food-preparation surfaces, grease and appliances, so use a dedicated step-by-step kitchen cleaning guide rather than treating every room identically.
Subscribe to KeepShine for more practical cleaning guides, straightforward household tips and useful resources to help make everyday home cleaning easier.
Final Thoughts: Make Your Living Room Routine Easier to Maintain
A clean living room does not depend on doing an enormous deep clean every week. A better approach is to work in a sensible order and prevent small jobs from building into a much bigger task.
Clear clutter first, work from top to bottom, give frequently touched and easily forgotten areas proper attention, and finish with the floor. Most importantly, use cleaning methods that suit the actual materials in your room rather than relying on one product for everything.
Once the room is clean, a few minutes spent regularly putting things away and dealing with visible mess can make the next full clean considerably more manageable.